Mikro C Programming for PIC Microcontroller with Proteus Simulation
Complete Mastery course on Mikro C Programming for PIC Microcontrollers with Proteus: From Basics to Advanced Circuit Design and Simulation for Beginners.
- Description
- Curriculum

Dive into the world of embedded systems with our comprehensive course, “Mikro C Programming for PIC Microcontroller for Beginners with Proteus.” This course is designed to equip you with the fundamental skills needed to program PIC microcontrollers using Mikro C and simulate your designs using Proteus IDE. Perfect for beginners, this course offers step-by-step instructions and hands-on projects to help you master the basics and advance to more complex circuits.
What You’ll Learn:
Proteus IDE and Circuit Design
- Exploring and Understanding Proteus Environment: Get familiar with the Proteus IDE and its interface.
- How To Pick Components From Proteus: Learn to select and place components in your designs.
- Your First Circuit Design In Proteus: Create your initial circuit with guided steps.
- LED Control With Button In Proteus: Design and simulate an LED control circuit.
- How To Save Your Project In Proteus IDE: Manage and save your projects efficiently.
- Configuring NPN And PNP Transistor: Understand and configure NPN and PNP transistors.
- Configuring A Relay With NPN Transistor: Set up a relay circuit using an NPN transistor.
- Configuring A Relay With PNP Transistor: Set up a relay circuit using a PNP transistor.
- How To Simulate a Buzzer in Proteus: Learn to integrate and simulate a buzzer.
- How To Simulate DC Motor: Simulate a DC motor within your circuit designs.
- Wireless Circuit Connection: Explore wireless connections and their simulations.
Mikro C Programming for PIC Microcontrollers
- Download And Installation Of Mikro C: Install and set up Mikro C for PIC programming.
- Download And Installation Of Mikro C Pro: Upgrade and configure Mikro C Pro for advanced features.
- Mikro C And Proteus ISIS: Integrate Mikro C with Proteus for seamless simulation.
- Mikro C Program for LED Blinking: Write and execute a simple LED blinking program.
- Mikro C Program for Push Button With LED: Create a push button-activated LED circuit.
- Triggering A Relay With PIC16F877A: Program and control a relay using PIC16F877A.
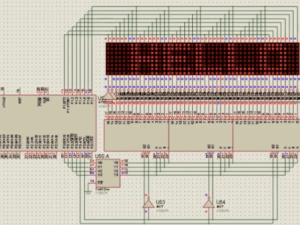
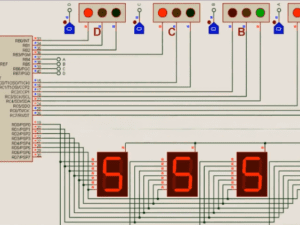
- Seven Segment Display With PIC16F877A: Interface and program a seven-segment display.
- Displaying Text In LCD With PIC16F877A: Display custom text on an LCD screen.
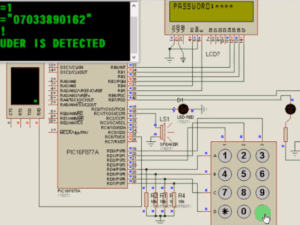
- Mikro C Program for Keypad Scanning: Program a keypad for input scanning and processing.
Why Take This Course?
- Hands-On Learning: Engage in practical projects that reinforce theoretical knowledge.
- Comprehensive Curriculum: Cover both Proteus simulation and Mikro C programming extensively.
- Beginner-Friendly: No prior experience needed; perfect for absolute beginners.
- Interactive Simulations: Visualize and understand circuit behaviors through detailed simulations.
- Skill Development: Gain valuable skills for a career in embedded systems and electronics.
- Lifetime Access: Enjoy lifetime access to course materials and updates.
Intended Audience:
- Aspiring Engineers: Beginners looking to start a career in embedded systems and electronics.
- Students: Engineering and technology students seeking practical programming and simulation experience.
- Hobbyists: Electronics enthusiasts eager to learn and apply Mikro C programming for PIC microcontrollers.
- Educators: Teachers and instructors who want to include practical programming and simulation exercises in their curriculum.
Course Requirements:
- Basic Computer Skills: Familiarity with using a computer and installing software.
- Proteus IDE and Mikro C: Installation of Proteus IDE and Mikro C (instructions provided in the course).
- No Prior Knowledge: No previous experience in programming or electronics required.
Join us in “Mikro C Programming for PIC Microcontroller for Beginners with Proteus” and take your first step towards mastering embedded system design and simulation. Enroll today and embark on your journey to becoming a proficient embedded systems developer!
CLAIM YOUR FREE CODING BOOK
Basic Proteus Circuit Configurations for Beginners
-
2Exploring and Understanding Proteus Environment8:21 mins
-
3How To Pick Components From Proteus5:30 mins
-
4Your First Circuit Design In Proteus5:09 mins
-
5Led Control With Button In Proteus4:01 mins
-
6How To Save Your Project In Proteus IDE3:19 mins
-
7Configuring NPN And PNP Transistor10:50 mins
-
8Configuring A Relay With NPN Transistor10:42 mins
-
9Configuring A Relay With PNP Transistor8:10 mins
-
10How To Simulate a Buzzer in Proteus5:55 mins
-
11How To Simulate DC Motor3:45 mins
-
12Wireless Circuit Connection6:07 mins
Mikro C Programming for Beginners
-
13Download And Installation Of Mikro C3:18 mins
-
14Download And Installation Of Mikro C Pro3:13 mins
-
15Mikro C And Proteus ISIS6:03 mins
-
16Mikro C Program for Led Blinking9:51 mins
-
17Mikro C Program for Push Button With LED8:57 mins
-
18Triggering A Relay With PIC16F877A9:02 mins
-
19Seven Segment Display With PIC16F877A6:34 mins
-
20Displaying Text In LCD With PIC16F877A12:54 mins
-
21Mikro C Program for Keypad Scanning20:03 mins
Mikro C Programming for PIC Microcontroller with Proteus Simulation
Share
One Time Payment + FREE Coding Book!
Course details
Duration
2hrs 30mins
Lectures
21
Level
Beginner
Includes Certificate of Completion
Lifetime Access
Available on All Devices
Popular courses

